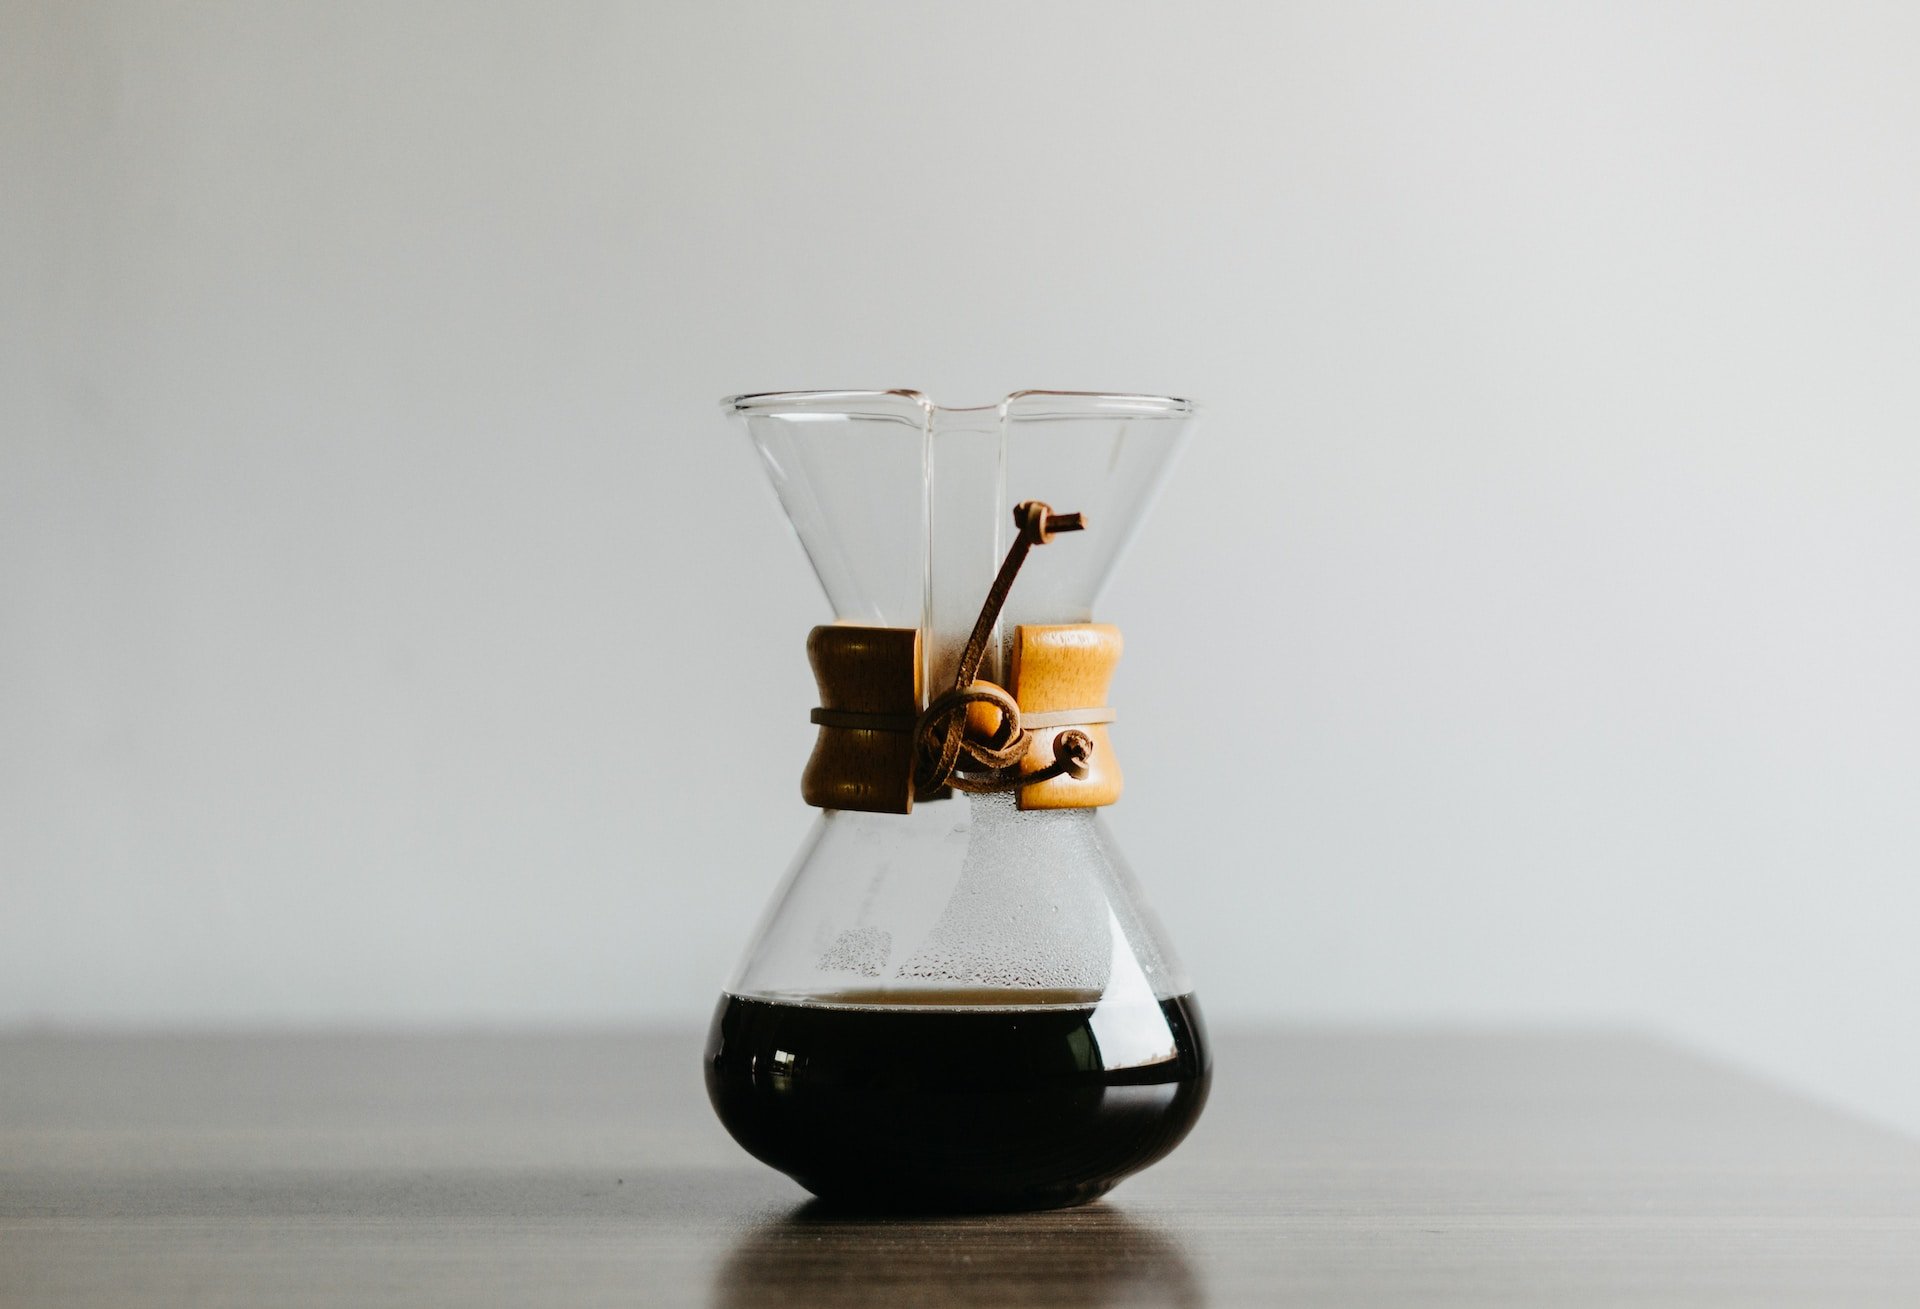
Pour-Over & CHEMEX: The How and Why
The pour-over brewing method and the equipment required to execute this extraction chemistry has become uber-popular in the past 5 to 10 years. But the super-popular Chemex pour-over coffee maker was invented in 1941, and the pour-over method itself was invented even earlier than that.
Quick history lesson aside, we recommend anyone who enjoys fresh-roasted specialty coffee try the pour-over method. It’s easy to execute at home, and if you’re willing to pick up a new piece of equipment, we recommend the Chemex pour-over coffee maker.
That sounds great. But why should I use it?
You’re missing out. Auto-drips, espresso makers, and cold-brew are great. And I use them daily. But nothing highlights a coffee’s array of flavor potential than the art and science of the pour-over.
For the flavor…and the aroma. The pour-over method gives you more control over the extraction process, which if you follow our standard recipe and directions, will result in a more flavorful and dynamic cup than you’d get out of a standard auto-drip (…that said, there are some advanced drip coffee makers that can simulate a pour-over. I’m not talking about those). Also, pour-overs bring all of the senses together with awesome aromas, sounds, and sights (…yes, watching your coffee brew is a sight).
For the fun of it. Second, pour-overs, especially when using the Chemex, are just fun! It can quickly develop into an art and craft. Plus, they put on quite a show when sharing with a friend or family member.
What you’ll need
CHEMEX Coffee Brewer & Filters ($55 Amazon) or basic pour-over coffee dripper & cone filters
Electric Kettle (the one I use is $53 on Amazon) or Standard Kettle
Coffee Scale ($24 Amazon) or any scale with a tare function and measures in grams
Coffee Grinder (Check out our “How to Choose a Grinder” article)
Stopwatch (I use my phone’s)
Awesome tasting whole bean coffee
Awesome tasting water (spring or filtered watered will do. Bad tasting water will make your good coffee taste bad)
Don’t let the list above scare you away from trying it if you don’t have all of the equipment. You can still execute a pour-over without a scale, grinder, electric kettle, etc. You’ll just have to do some guess work with your coffee ratio or start with pre-ground coffee. You can always add to your coffee hardware one item at a time. If you have none of the above, I recommend starting with some type of pour-over coffee dripper and cone filters.
The Process
From now on, I’ll be referring to the pour-over process as Chemex, and I’ll use the terms interchangeably, but the process is the same whether you’re using a standard pour-over dripper or an actual Chemex.

Step 1: Get your Stuff Together
Arrange all of your equipment on your work surface: Chemex, whole bean coffee, grinder, coffee scale, electric kettle, and water.
You’ll be using a coffee to water ratio of 1:18 (in grams). Adjust according to desired strength.
Your grind setting should be medium-coarse, which has the consistency of coarse sand.

Step 2: Heat your water, Weigh & Grind your Beans
Start to boil your water. Boil at least 25% more water than you’ll need. You’re shooting for 195 - 205 degrees F. If you don’t have an electric kettle with temp control, just bring your water to a boil at the start of your pour-over process and you’ll be fine.
While your water heats up, measure your coffee out in whole beans. Use the ratio of 1 gram of coffee for every 18 grams of water. 350g of water is a good starting point for one mug of coffee. That’s 19.4g of whole bean coffee (350/18). If you want a round number for beans, go with 20 grams of coffee, which is 360 grams of water. This is about a mug of coffee.
This is where we see the most variation on how people prefer the strength of their coffee. I’ve seen folks go as low as 1:14 in their coffee to water ratio (1 gram of coffee for every 14 grams of water). Just remember the lower the grams of water in the ratio, the stronger the coffee will be.
Once you’ve measured the correct amount, grind them using a medium-coarse setting.

Step 3: Pre-Wet the filter & Heat the Chemex
Once your water has come to a boil, put a filter in the top part of the Chemex. Be sure to follow the folding/opening instructions on the box that your filters came in for the correct way to place them. When correctly placed, there should be three layers of filter paper on the side with the trench/pour spout, and one layer of filter paper on the other side.
Pre-wet and heat your Chemex by pouring enough hot water in the top of the Chemex to wet the whole filter. Give the Chemex a few swirls to heat up the whole bottom, and then discard down the drain, being careful that the filter doesn’t fall out.

Step 4: time to add the Ground Coffee
Start by placing your empty pre-heated Chemex with with pre-wetted filter on your work surface and pour your fresh ground beans in the top part. Carefully level out the ground coffee by gently shaking the Chemex side to side. The goal is to level your coffee grounds not tamp (compress) them down.
Once you’ve leveled out your coffee, place your Chemex on your coffee scale and tare to zero. Make sure your scale is set to grams.
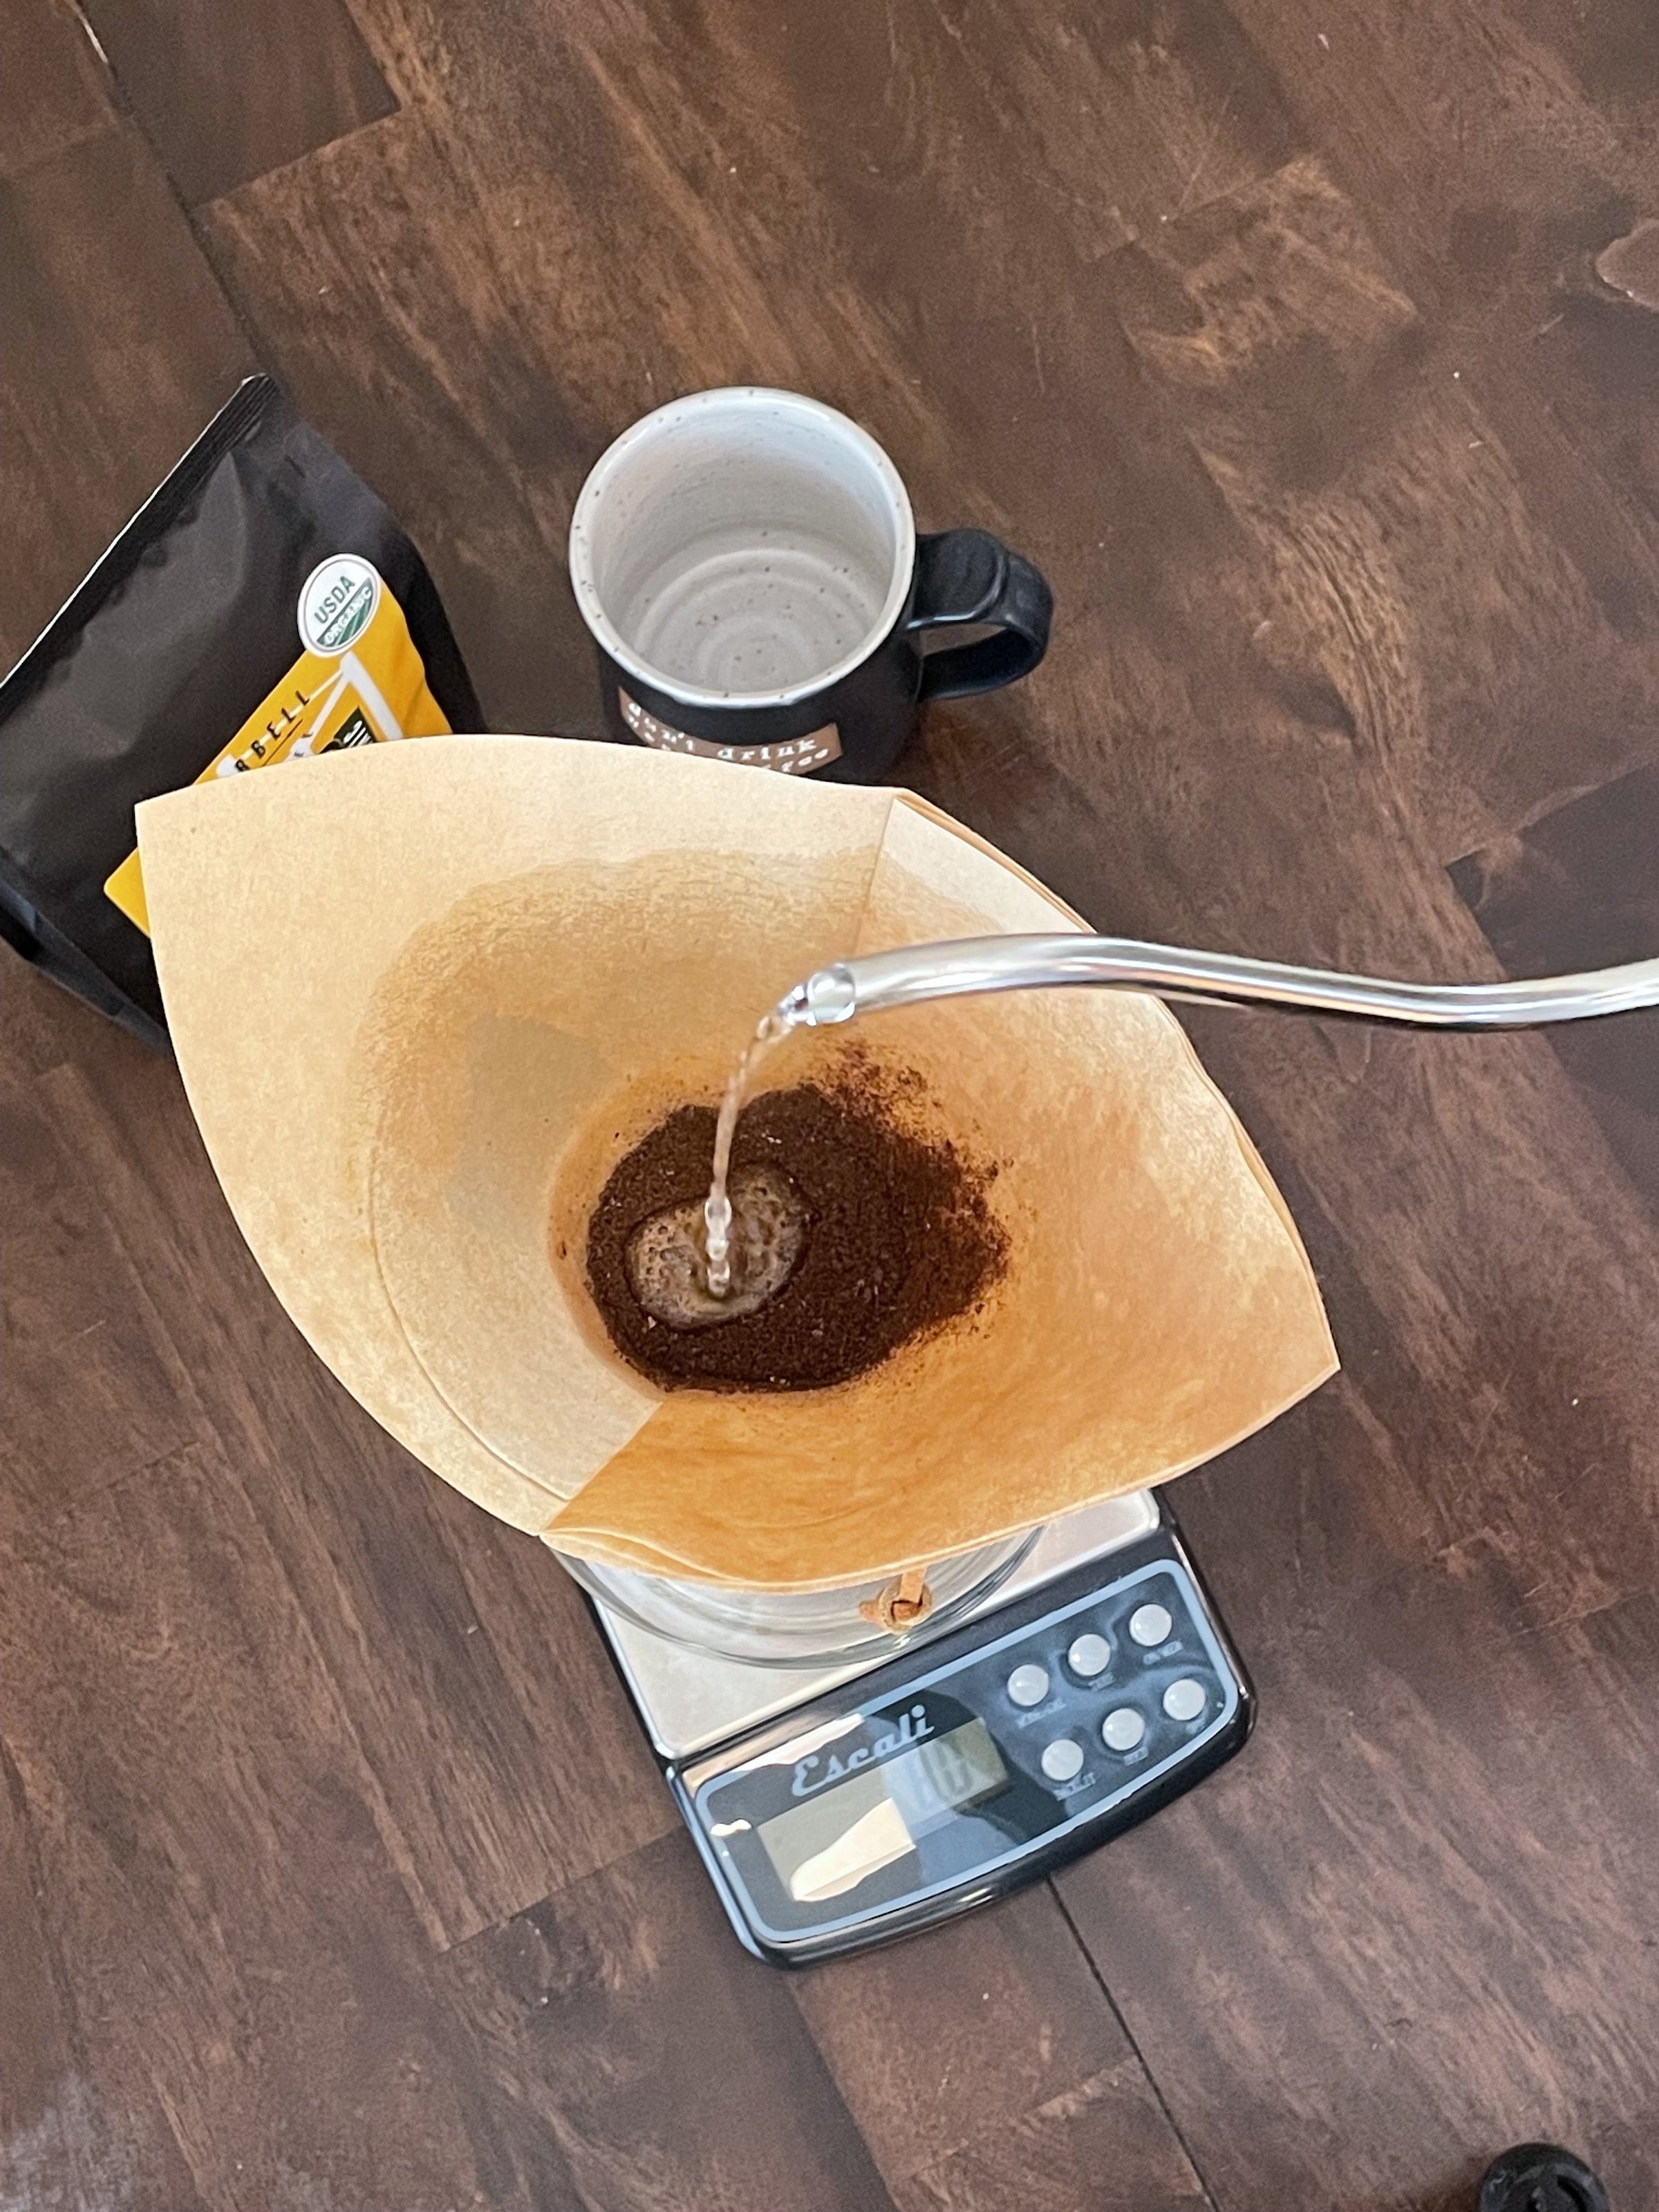
Step 5: First Pour, the Bloom
Now it’s time to actually start brewing. Grab your kettle and get your stopwatch ready. The goal of this first brewing step is to pour 30 grams of water over your coffee and letting it rest for 1 minute from when you started pouring.
Press start on your stopwatch (counting up) and gently pour starting from the middle out in a slow circular motion until you’ve wet all of the coffee and your scale reads 30 grams. Let your coffee open up or “bloom” until your stopwatch reads 1 minute.
Pouring Tips:
Don’t pour too fast. The stream coming out of your kettle should be almost straight down (with as little arc as possible). This can be hard to achieve without a goose-neck style kettle, so do your best.
Your water stream should always be pouring over coffee, not the edge of the Chemex. Pouring on the edge will result in a weaker brew because more water will simply run down the side of the Chemex instead of the coffee.
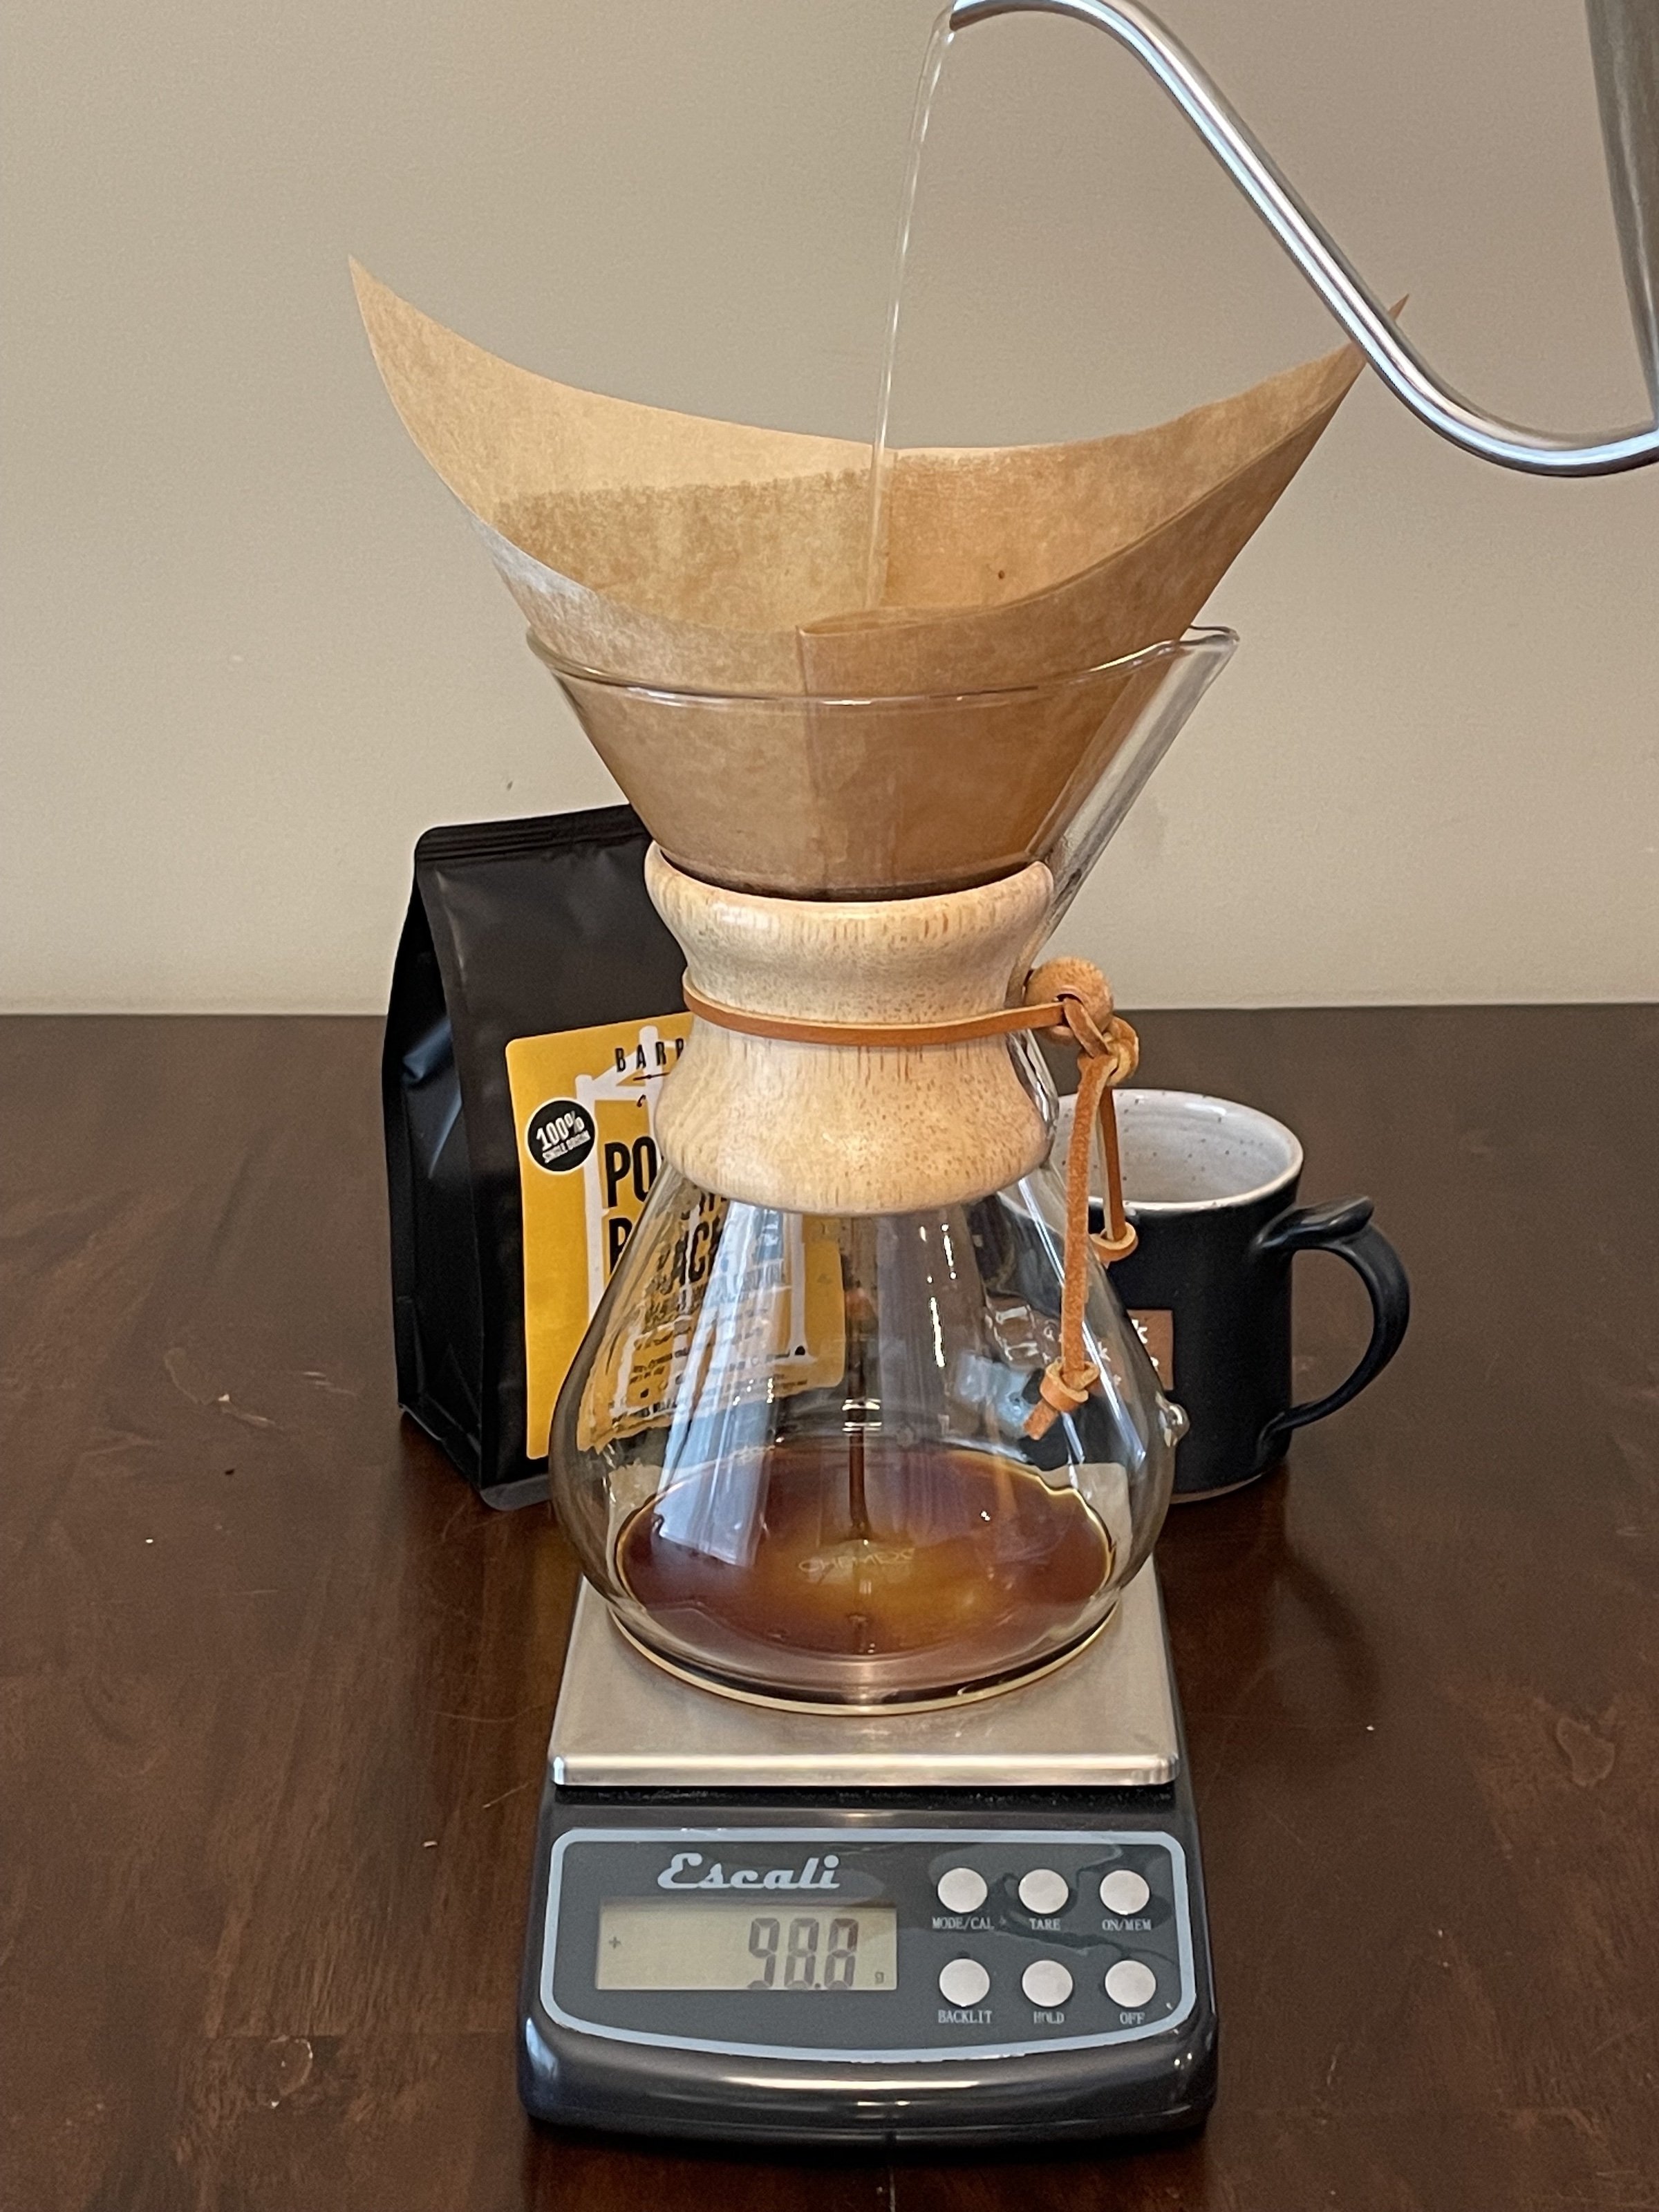
Step 6: Continue Pouring
Once your stopwatch reads 1 minute, start slowly pouring again. Use the same inside to outside and outside to inside circular motion when pouring. This should be a gentle fluid movement. Not a vigorous circular motion. At this point, you should be pouring on and off until you’ve hit your desired amount of water in grams.
Pouring Tip: Pour until grounds are just above covered. The coffee should not be floating around in the water, just saturated. Start pouring again once the water recedes just below the very top layer of grounds.
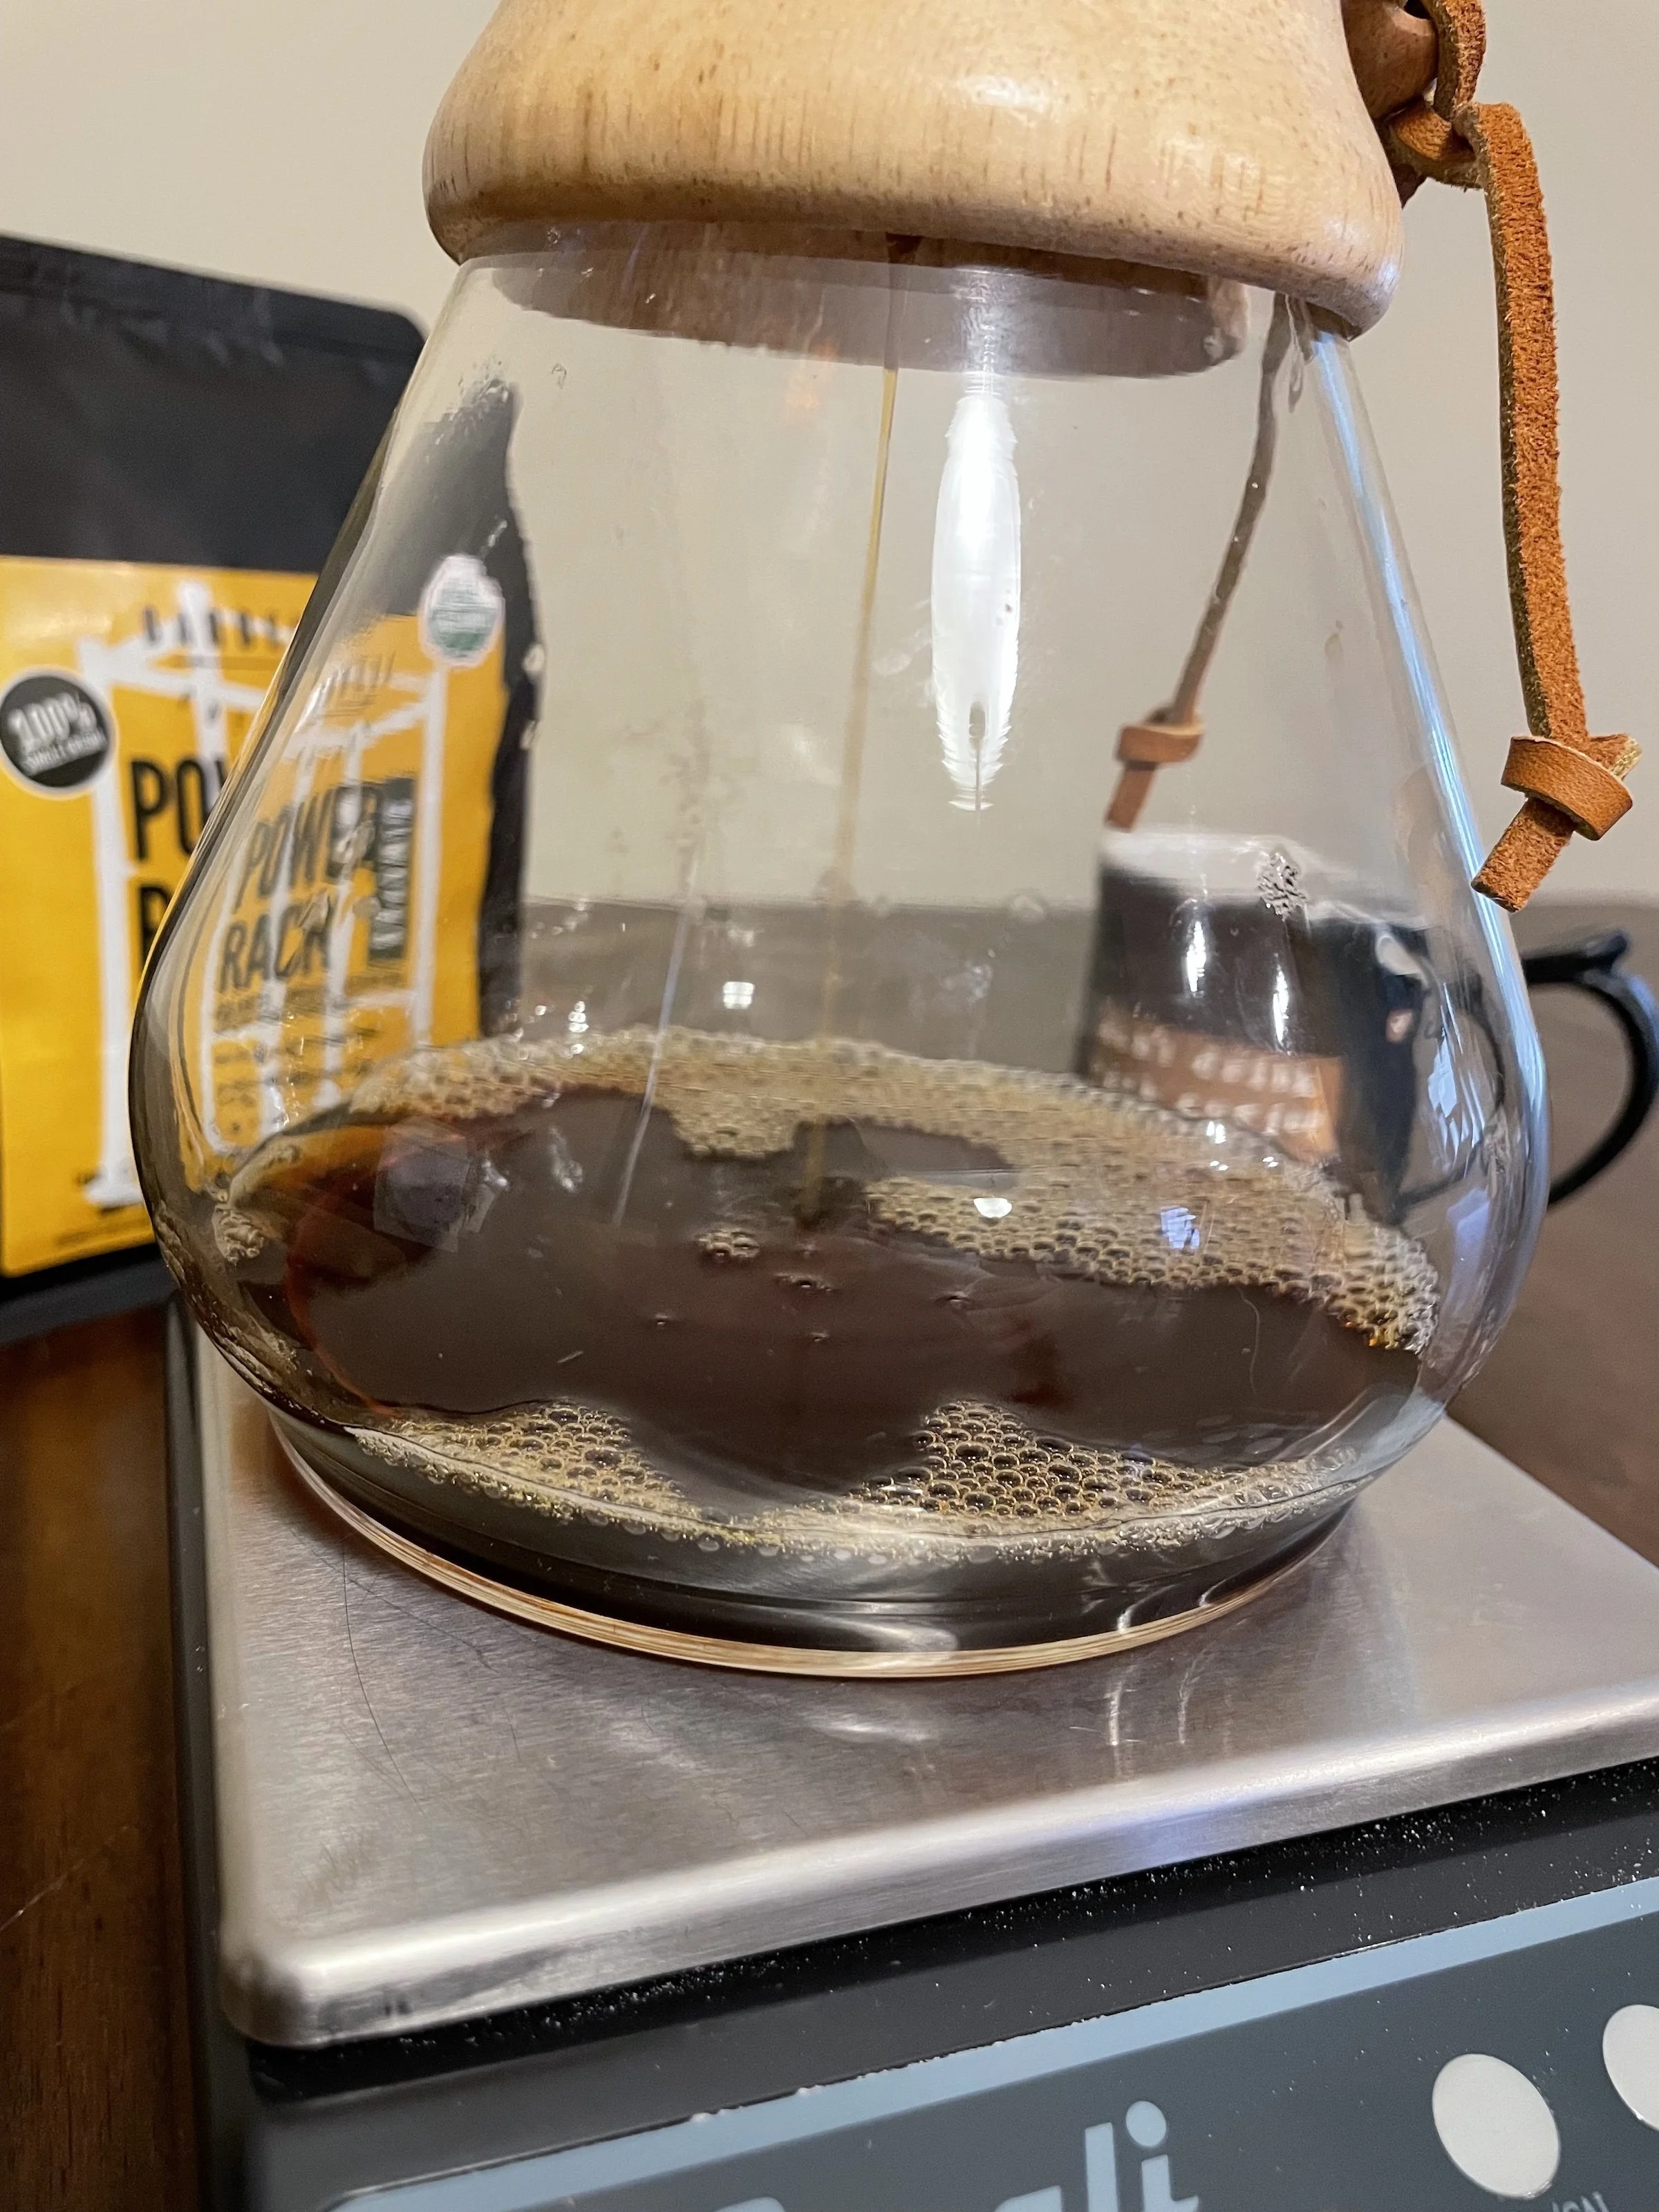
Step 7. let it Drip, Aerate, and Enjoy
Let your Chemex brew until dripping has stopped or at least mostly stopped. Discard filter and grounds. Grab your Chemex by the bottle neck (narrow part with the bamboo), and give it a light swirl to aerate. The aeration step is not necessary, but I like to do it. Then pour and enjoy the art and the craft of the pour-over via Chemex.
Congratulations! You’ve just taken your coffee brewing to the next level!
Troubleshooting Tips
Does your brewed grounds look sludgy? It means you’re burr-mill grinder is set too fine, or you’re using a blade-style grinder. Because blade-style grinders chop beans inconsistently, it’s difficult (if not impossible) to achieve non-sludgy grounds when using a blade-style grinder.
Things clogging up during the brew process? See above.
Adjusting the coffee-to-water ratio. Now that you’ve done your first pour-over, I recommend making slight changes in the amount used to brew until you’ve reached your desired strength. For example, if it tasted too weak, try upping the coffee to water ratio one point at a time (IE try 1:17 next time instead of 1:18). Also, the more you do a pour-over, the more comfortable you’ll become with the process, and it’ll become second nature. So go forth and…